
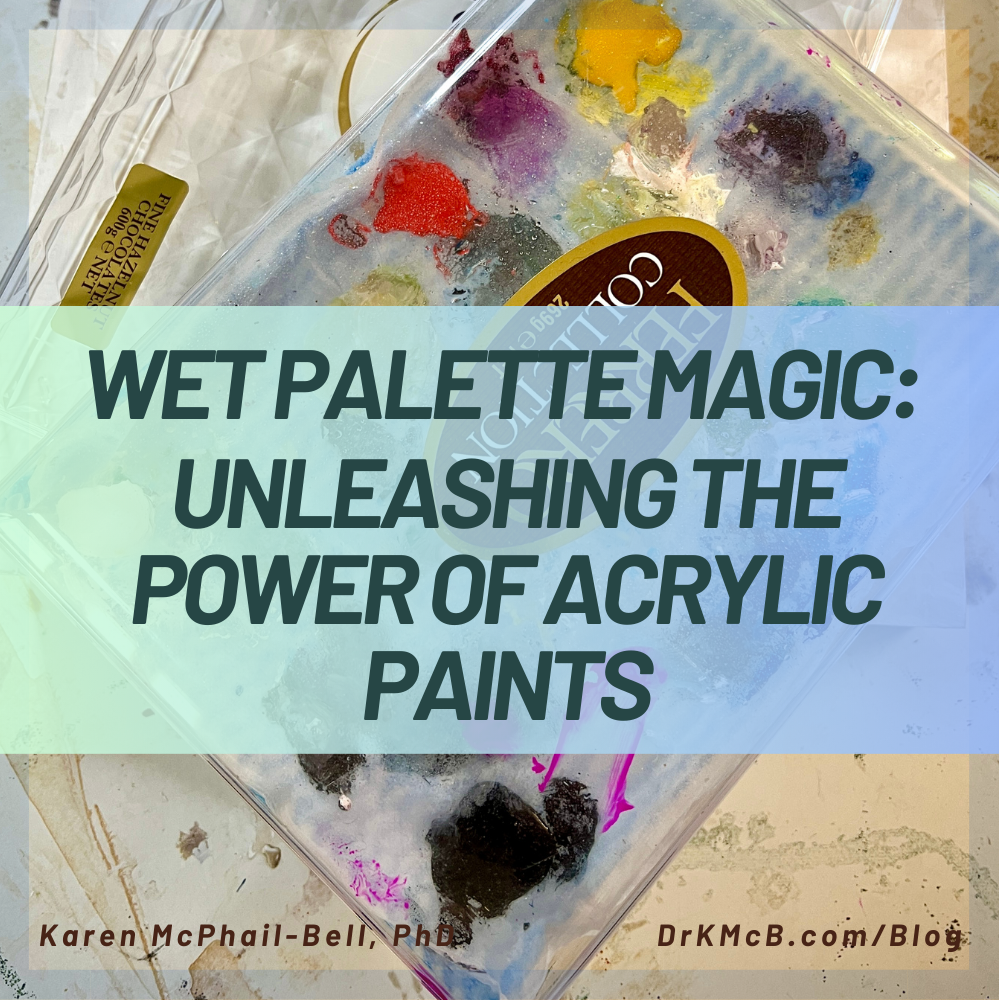
Wet Palette Magic: Unleashing the Power of Acrylic Paints
Are you wanting to extend the life of your acrylic paint? A wet palette can be a game-changer when it comes to acrylic paint, for seasoned and new artists alike. I created this step-by-step guide to help you easily make your own wet palette.
I love painting with acrylic paint. Its fast-drying nature is perfect for layering and its water-based properties make it versatile in mixed media painting. But acrylic paint’s fast-drying nature can mean that left-over paint after a session gets wasted.
Enter the wet palette. This sweet set-up will keep your acrylic paint wet indefinitely. In this post I share how to make your own wet palette in three easy steps. I also share some of the limitations to watch for to help you make the most of your wet palette.
Gather your materials
1. Shallow container or tray with an airtight/tight-fitting lid
You can purchase wet palette boxes or you can do-it-yourself. I prefer DIY because IMHO it is equally effective while also upcycling boxes that would have otherwise gone to landfill.
My favorite tray to upcycle is the Ferrero Rocher Gift Box 48 pack size (like this). This box size is suitable for mixing various colors and its flat base with right-angled corners means you can use the entire surface area of the base.

Whatever tray you use, make sure it is shallow enough for easy access to your paints.
Note: You’ll see my images below show a much smaller Ferrero Rocher box. I do not recommend this small size nor its curved base (ie it lacks the 90 degree corners that the 48-pack size above has). However, this smaller box was all I had access to while visiting Australia, at the time of writing this post.
2. Flat sponge, absorbent paper towel or cloth
I like using Chux cloths as they are easy to rinse out and reuse, and I purchase them in rolls like this one. I do know of artists who use absorbent paper towels or flat sponge cloths, although I am aware the paper towel doesn’t stay moist for as long so I wouldn’t recommend that as a first choice. If you choose a flat sponge just make sure it has a smooth surface.
3. Parchment/baking/palette paper
Commercially available palette paper can be pricey to use in a wet palette system, given they need regular replacement. I am also aware of a number of artists who are dissatisfied with palette paper. So, I recommend trying out baking/parchment paper.
The key thing here is that the paper be coated so that it is non-stick, which will allow the water below to gently seep through to keep your paint moist.
I do know of artists who use tracing paper in their wet palette. I’ve not personally used this but if you try this option, I suggest you ensure the tracing paper isn’t too thin to avoid the paper rubbing off.
4. Clean water
Tap water is fine!
Step 1 - Prepare your container
Whatever container you’ve chosen, ensure it's clean and free of any residue. Make sure the lid makes an airtight seal so as to keep your paints moist for as long as possible.
Step 2 - Prepare the sponge / paper/ cloth
Fit your chosen material - sponge, paper or cloth - to fit the bottom of the container. I like to make sure the material is snug and flat across the bottom, right up to the corners but not up the sides.
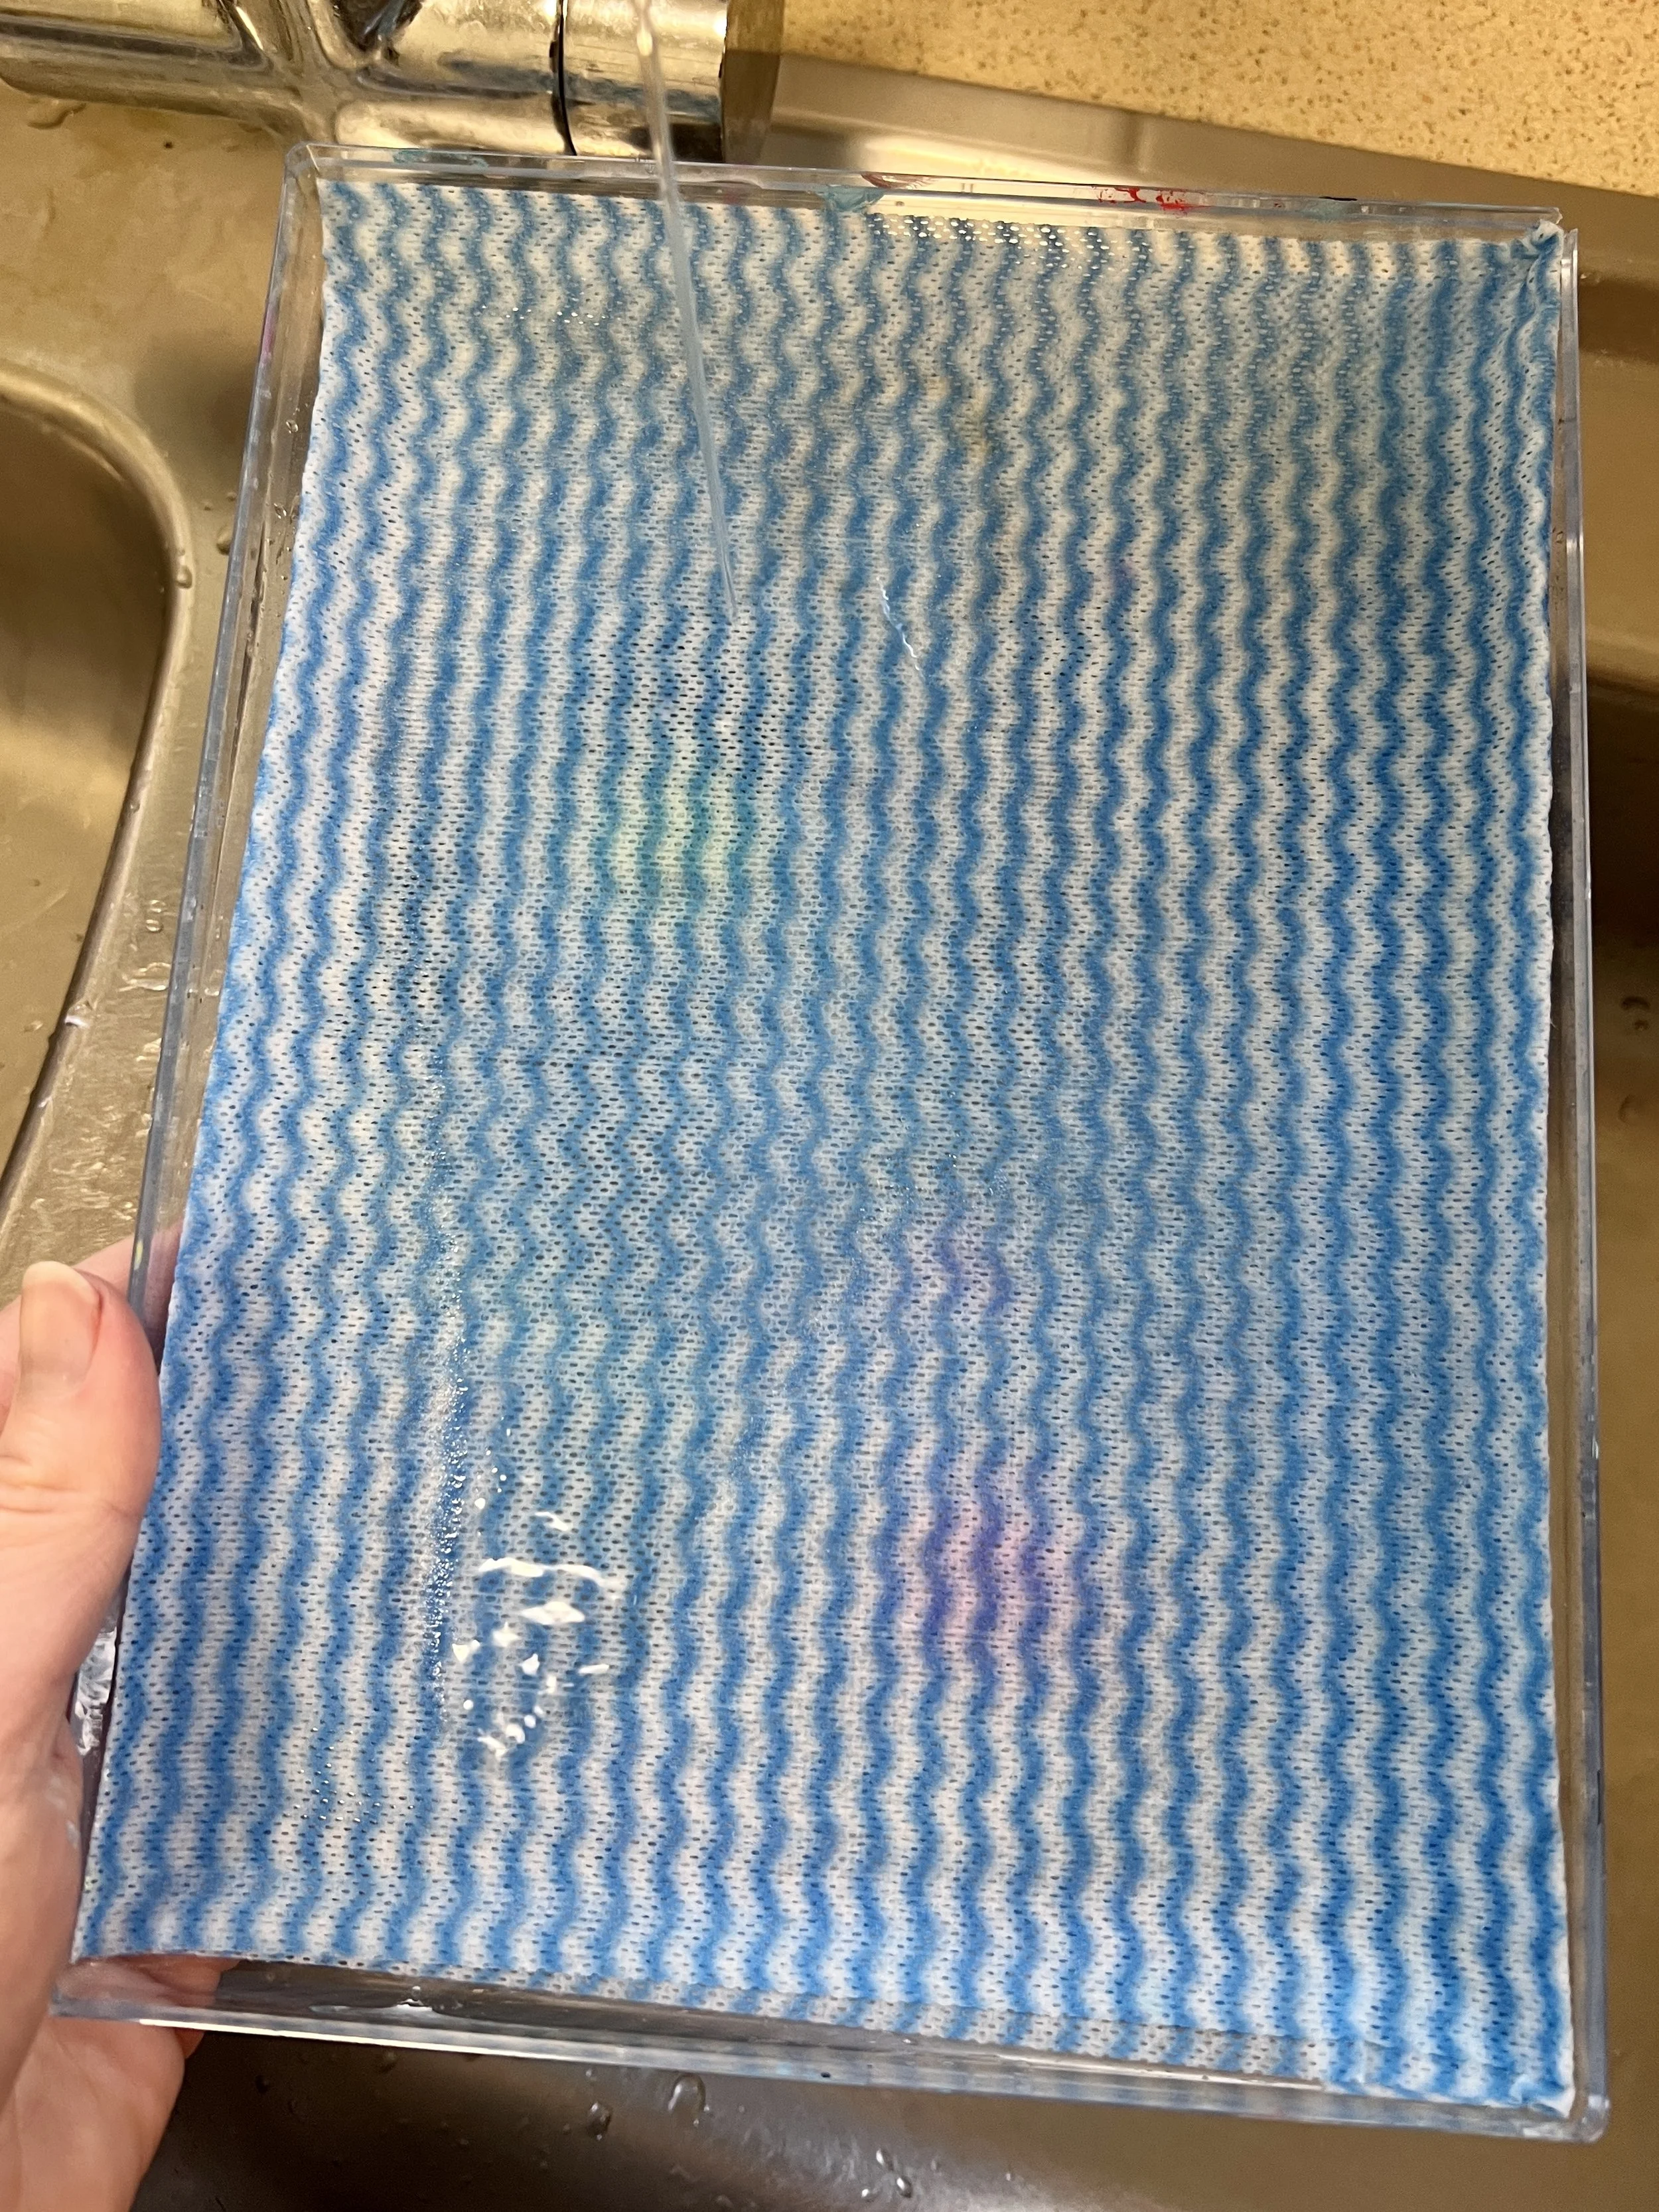
Dampen the material with clean water. I do this by gently running a tap over the Chux cloth, then running out all the excess water so that it is not soaking wet.

You don’t want the water to pool in the material; you just want enough water to keep your paint on top moist. Make sure the cloth is flat, so that it doesn’t cause bumps in your palette later.
Step 3 - Apply the paper
Place a sheet of your chosen paper on top of the damp material from Step 2.
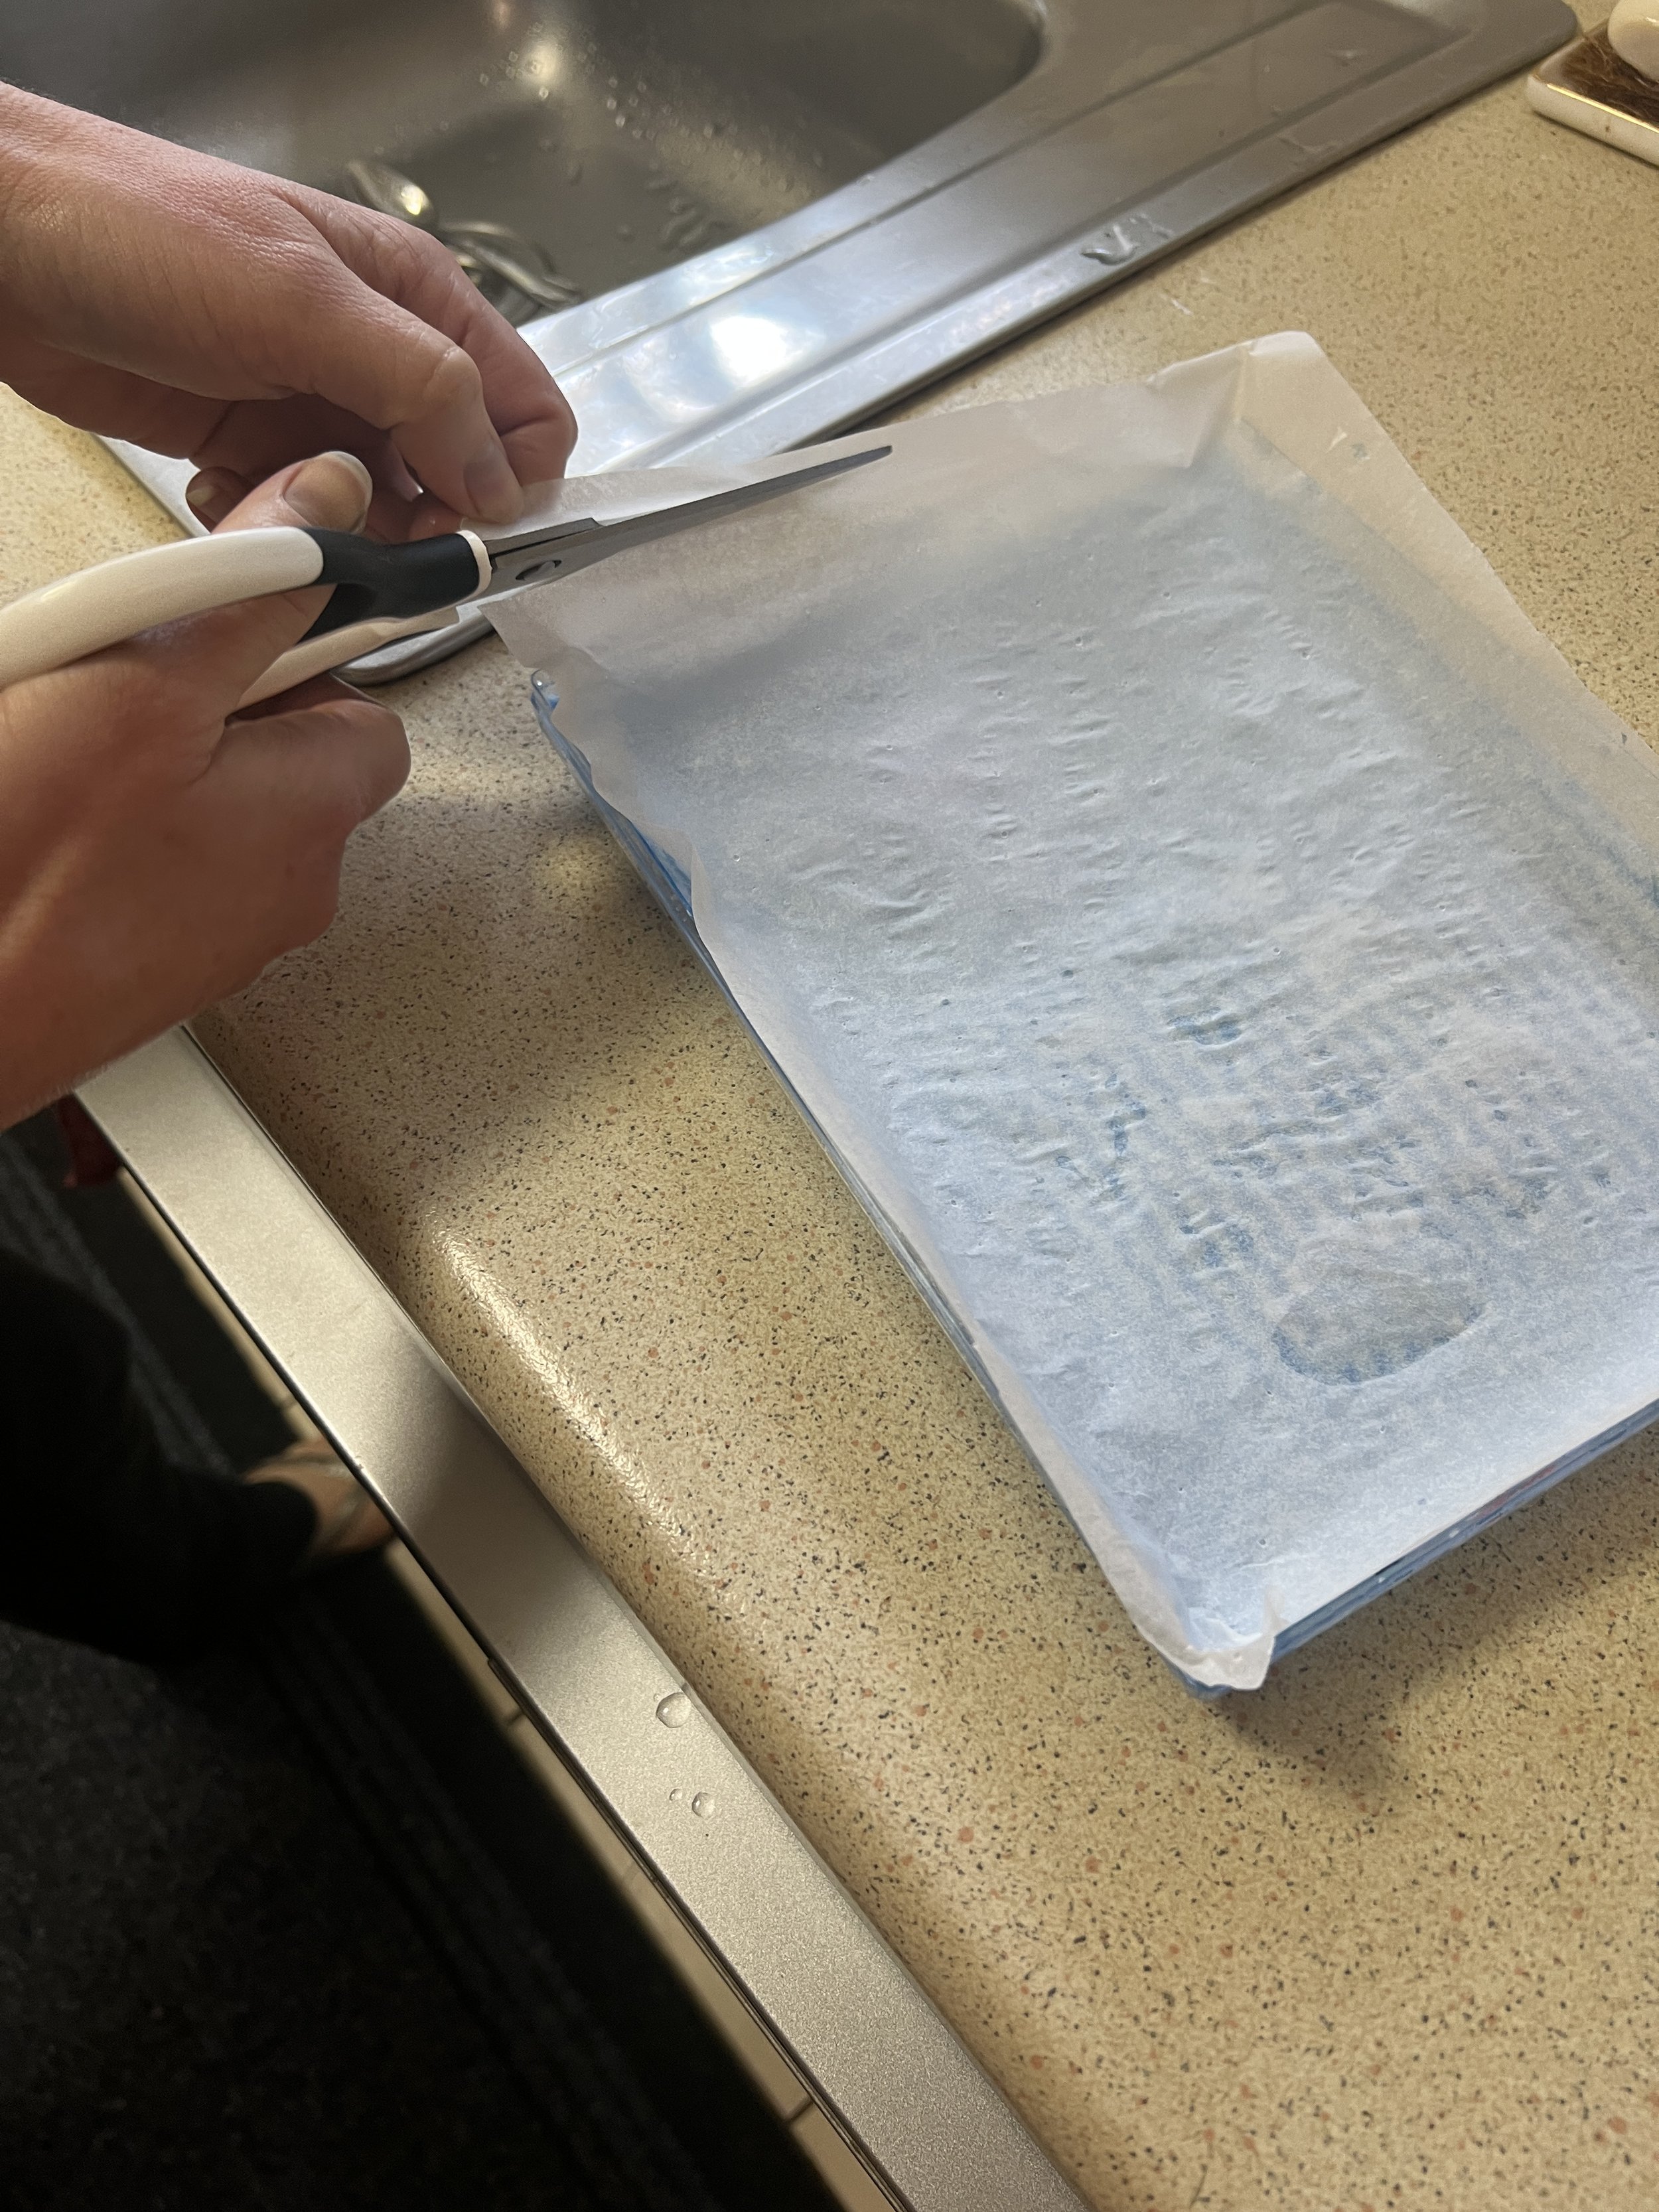
Cut the paper to size so that it fits snugly within the container.

I like my paper to cover the sides too, just make sure the paper doesn’t interfere with the lid’s airtight seal.
This paper will serve as your mixing surface for the acrylic paints. Smooth out any air bubbles or wrinkles in the paper.
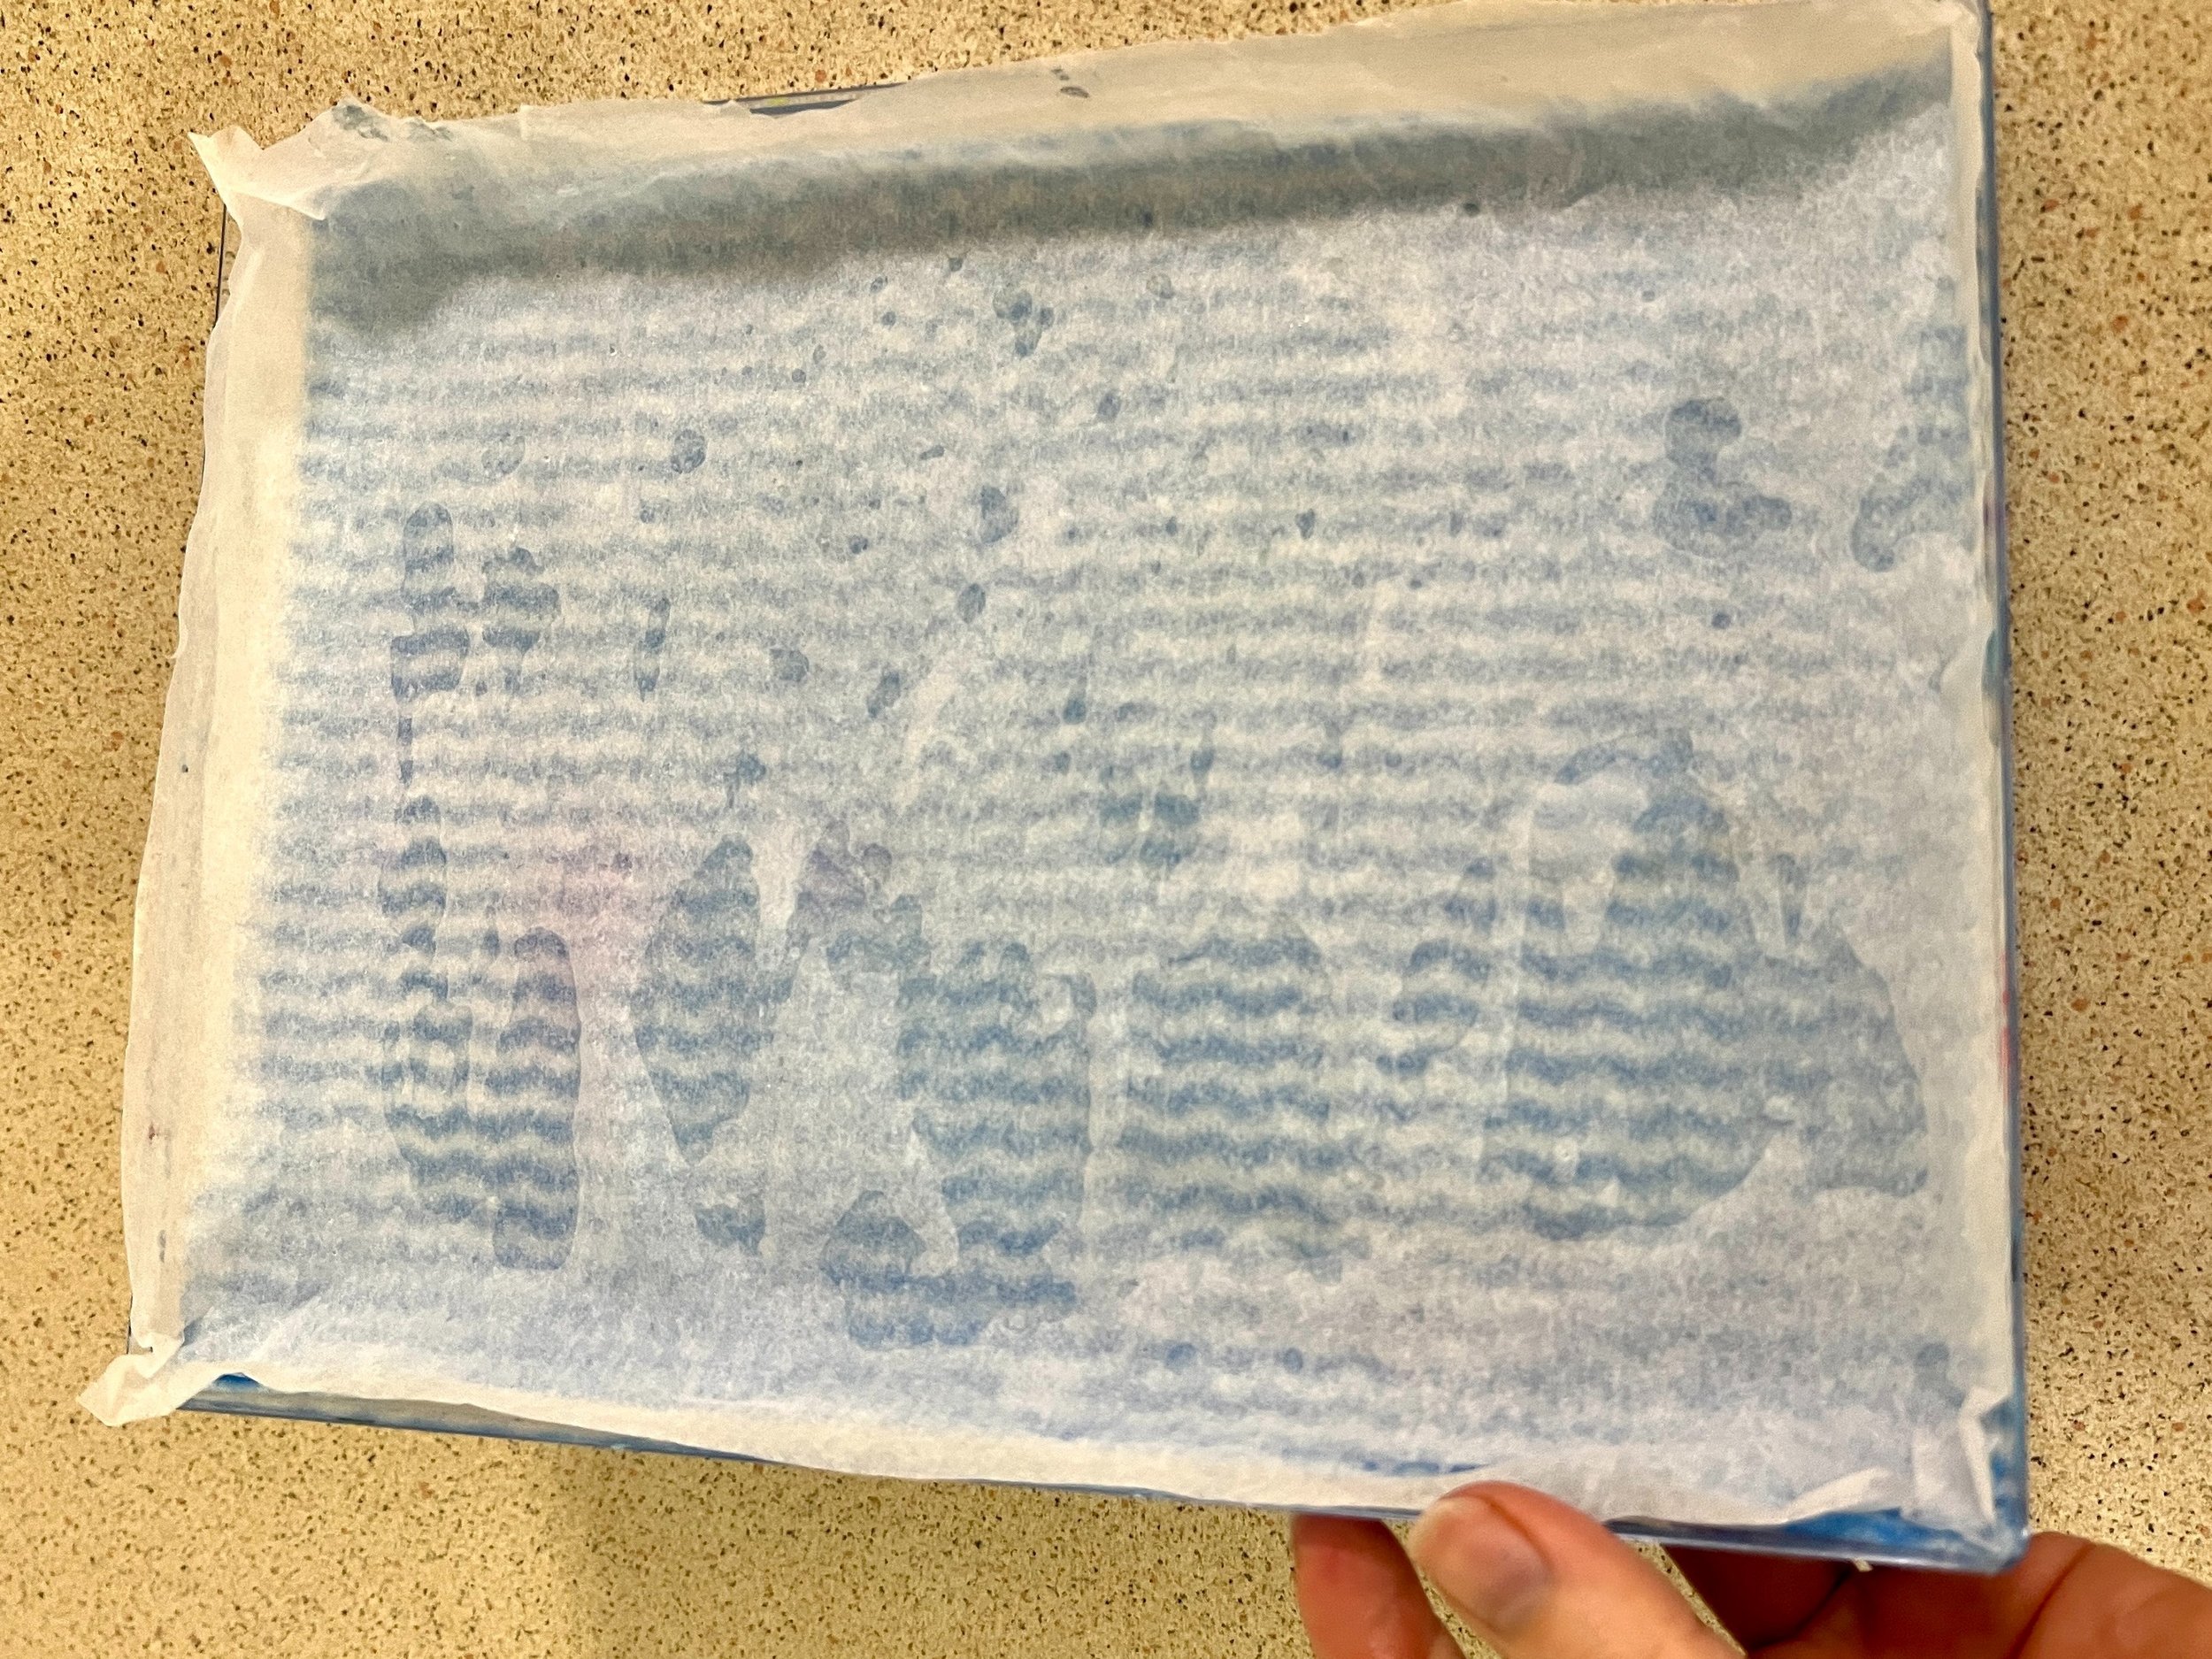
OPTIONAL Step 3.1 - Double-layer the paper
I have adapted Step 3 to incorporate a second layer of paper. To do so, I add moisture on top of the first paper layer, then repeat Step 3 for fitting the second paper layer on top.
An additional paper layer isn’t standard practice in wet palettes so YMMV. For me, the second layer extends the time between needing to change a palette and minimises paint thinning. I suggest that you try the wet palette with one sheet of paper first before adding this step, because one layer may be all you need.
Now you can get started!
Remember, start with a conservative amount of paint - you can always add more later. Leave some space between each color to allow for mixing and blending. When you’re finished painting, cover the container with the lid and the paints will be kept moist ready for your next painting session.
Limitations to a wet palette
While I do love a wet palette, there are some limitations and considerations:
Evaporation: Over time, the water in the palette will evaporate. When this happens, the paint will dry out. To prevent this happening, all you need to do is periodically check and replenish the moisture. I love using a spray bottle set to mist for easy access.
Mold and mildew: If the wet palette is left closed for an extended period or not properly cleaned, mold and mildew can develop. Regularly clean the palette and change the sponge or absorbent paper to prevent any growth.
Paint consistency: Acrylic paints on a wet palette can become diluted over time, which can thin the consistency of the paint. If this happens, you may need to paint some additional layers to achieve the desired opacity, depending on the quality of your paint’s pigment.
Limited palette space: Depending on the size of your container, a wet palette may constrain the space you have for mixing and organizing your paints. As an example, in the images I’ve used above you’ll see a palette size that much smaller than ideal. The smaller amount of space may mean you need to replenish or switch to a fresh palette more frequently.
So there you have it! I hope you found this guide helpful to make your own wet palette to get the most out of your acrylic paint. If you have any questions please comment below or contact me directly - I’d love to help!
PS Having trouble making space in your life to create and make art? Check out my blog post with tips to stay creative with time and space constraints.
Like what you read? Please share this post!
